Bring On The Pain: Scooter Build, Pt. 4
Both my hands are bloody right now. As it turns out, old Chinese ATV parts are particularly rust-prone (and therefore fused into one piece) which then causes my normally friendly tools to bare their pinchiest and pokey-est bits.
A List of Injuries From the Last Week
- Pulled lower back muscles (latissimus dorsi?) on both sides while hauling the ATV frame around.
- Bruised my upper legs hauling the ATV frame around.
- Bruised both my forearms hauling the ATV frame around.
- Cut my left wrist while hauling the ATV frame around.
- Pinched my left hand in three places while attempting to disengage a pair of vice grips after freeing a rusted nut resulting in blood blisters.
- Cut my right thumb pad on that same pair of vice grips which- coincidentally- recently had an unfortunate accident with a cinder block wall. After inspection, the wall was dinged and the vice grips were fine… Fuck you, vice grips.
In other news, I found a donor ATV frame and it weighs about 120 awkward pounds! Even more excitingly, I found an ATV junkyard in Bridgewater, Massachusetts called Cycle Pros Salvage. Last Wednesday, I spent the afternoon digging through the shit heap/gold mine piled next to the shop and discovered a 110cc Chinese import ATV built in 2010 by Zheijang Peace Industry & Trade Co. Ltd. Zheijang exports several different ATVs into the USA under a couple different brand names but they are all virtually identical save the body shell, colorways, and non-essential upgrade features. The nice gentleman (Doug!) who sold the frame to me and helped me out a great deal during my time digging through the yard believes this to be a TaoTao-brand ATV.
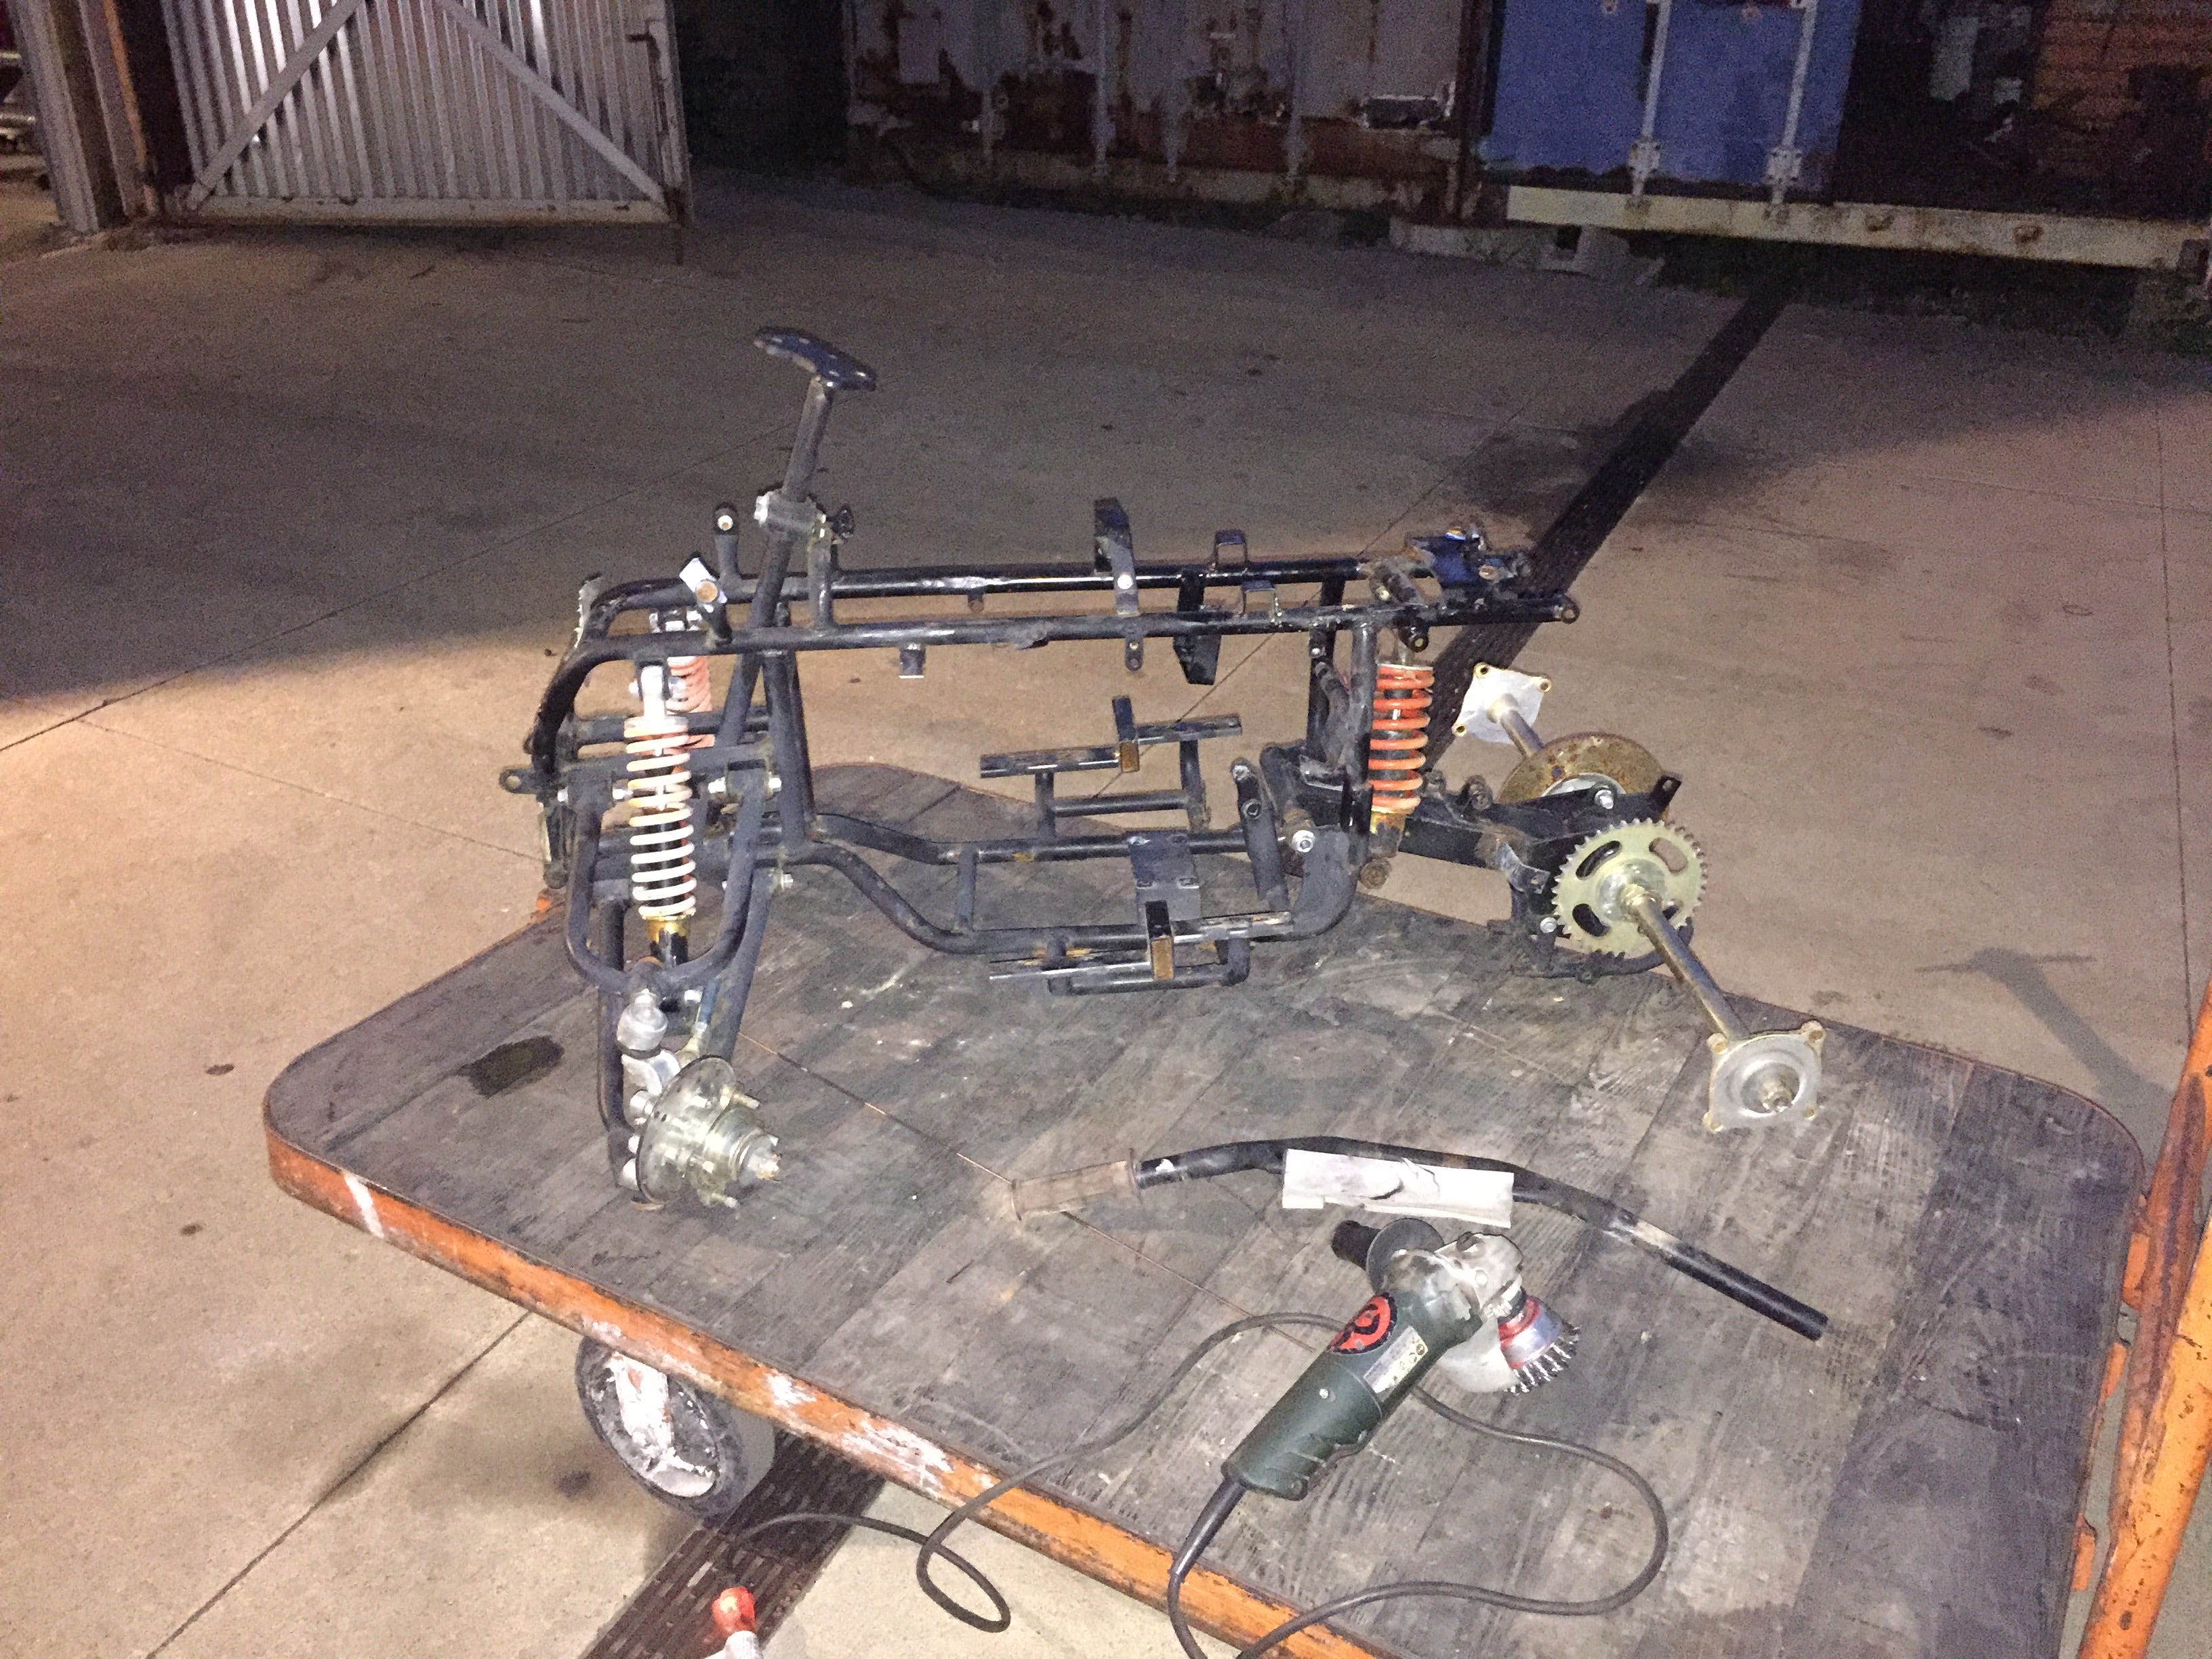
I chose this frame because it’s roughly the right width for the moped, the frame is reasonably straight, and the hubs and brake pads are all intact along with the shocks and steering assembly. That being said, the welds on this frame are truly horrific even according to my barely-a-novice welding expertise. I’m going back in to patch up the welds in a couple places before I feel safe about the integrity of the frame over time. On the flip side, the steel used in the construction of the frame is reasonably thick and- as demonstrated by my multiple strain injuries- is certainly extremely heavy. It feels a lot like Zheijang decided to spend their build budget on raw materials and then did a really craptacular job assembling the components into a finished unit. This apparent ideology carries through to the various sub assemblies on the frame as well.
Things that Need Fixing: A List in No Particular Order
Rust on Everything
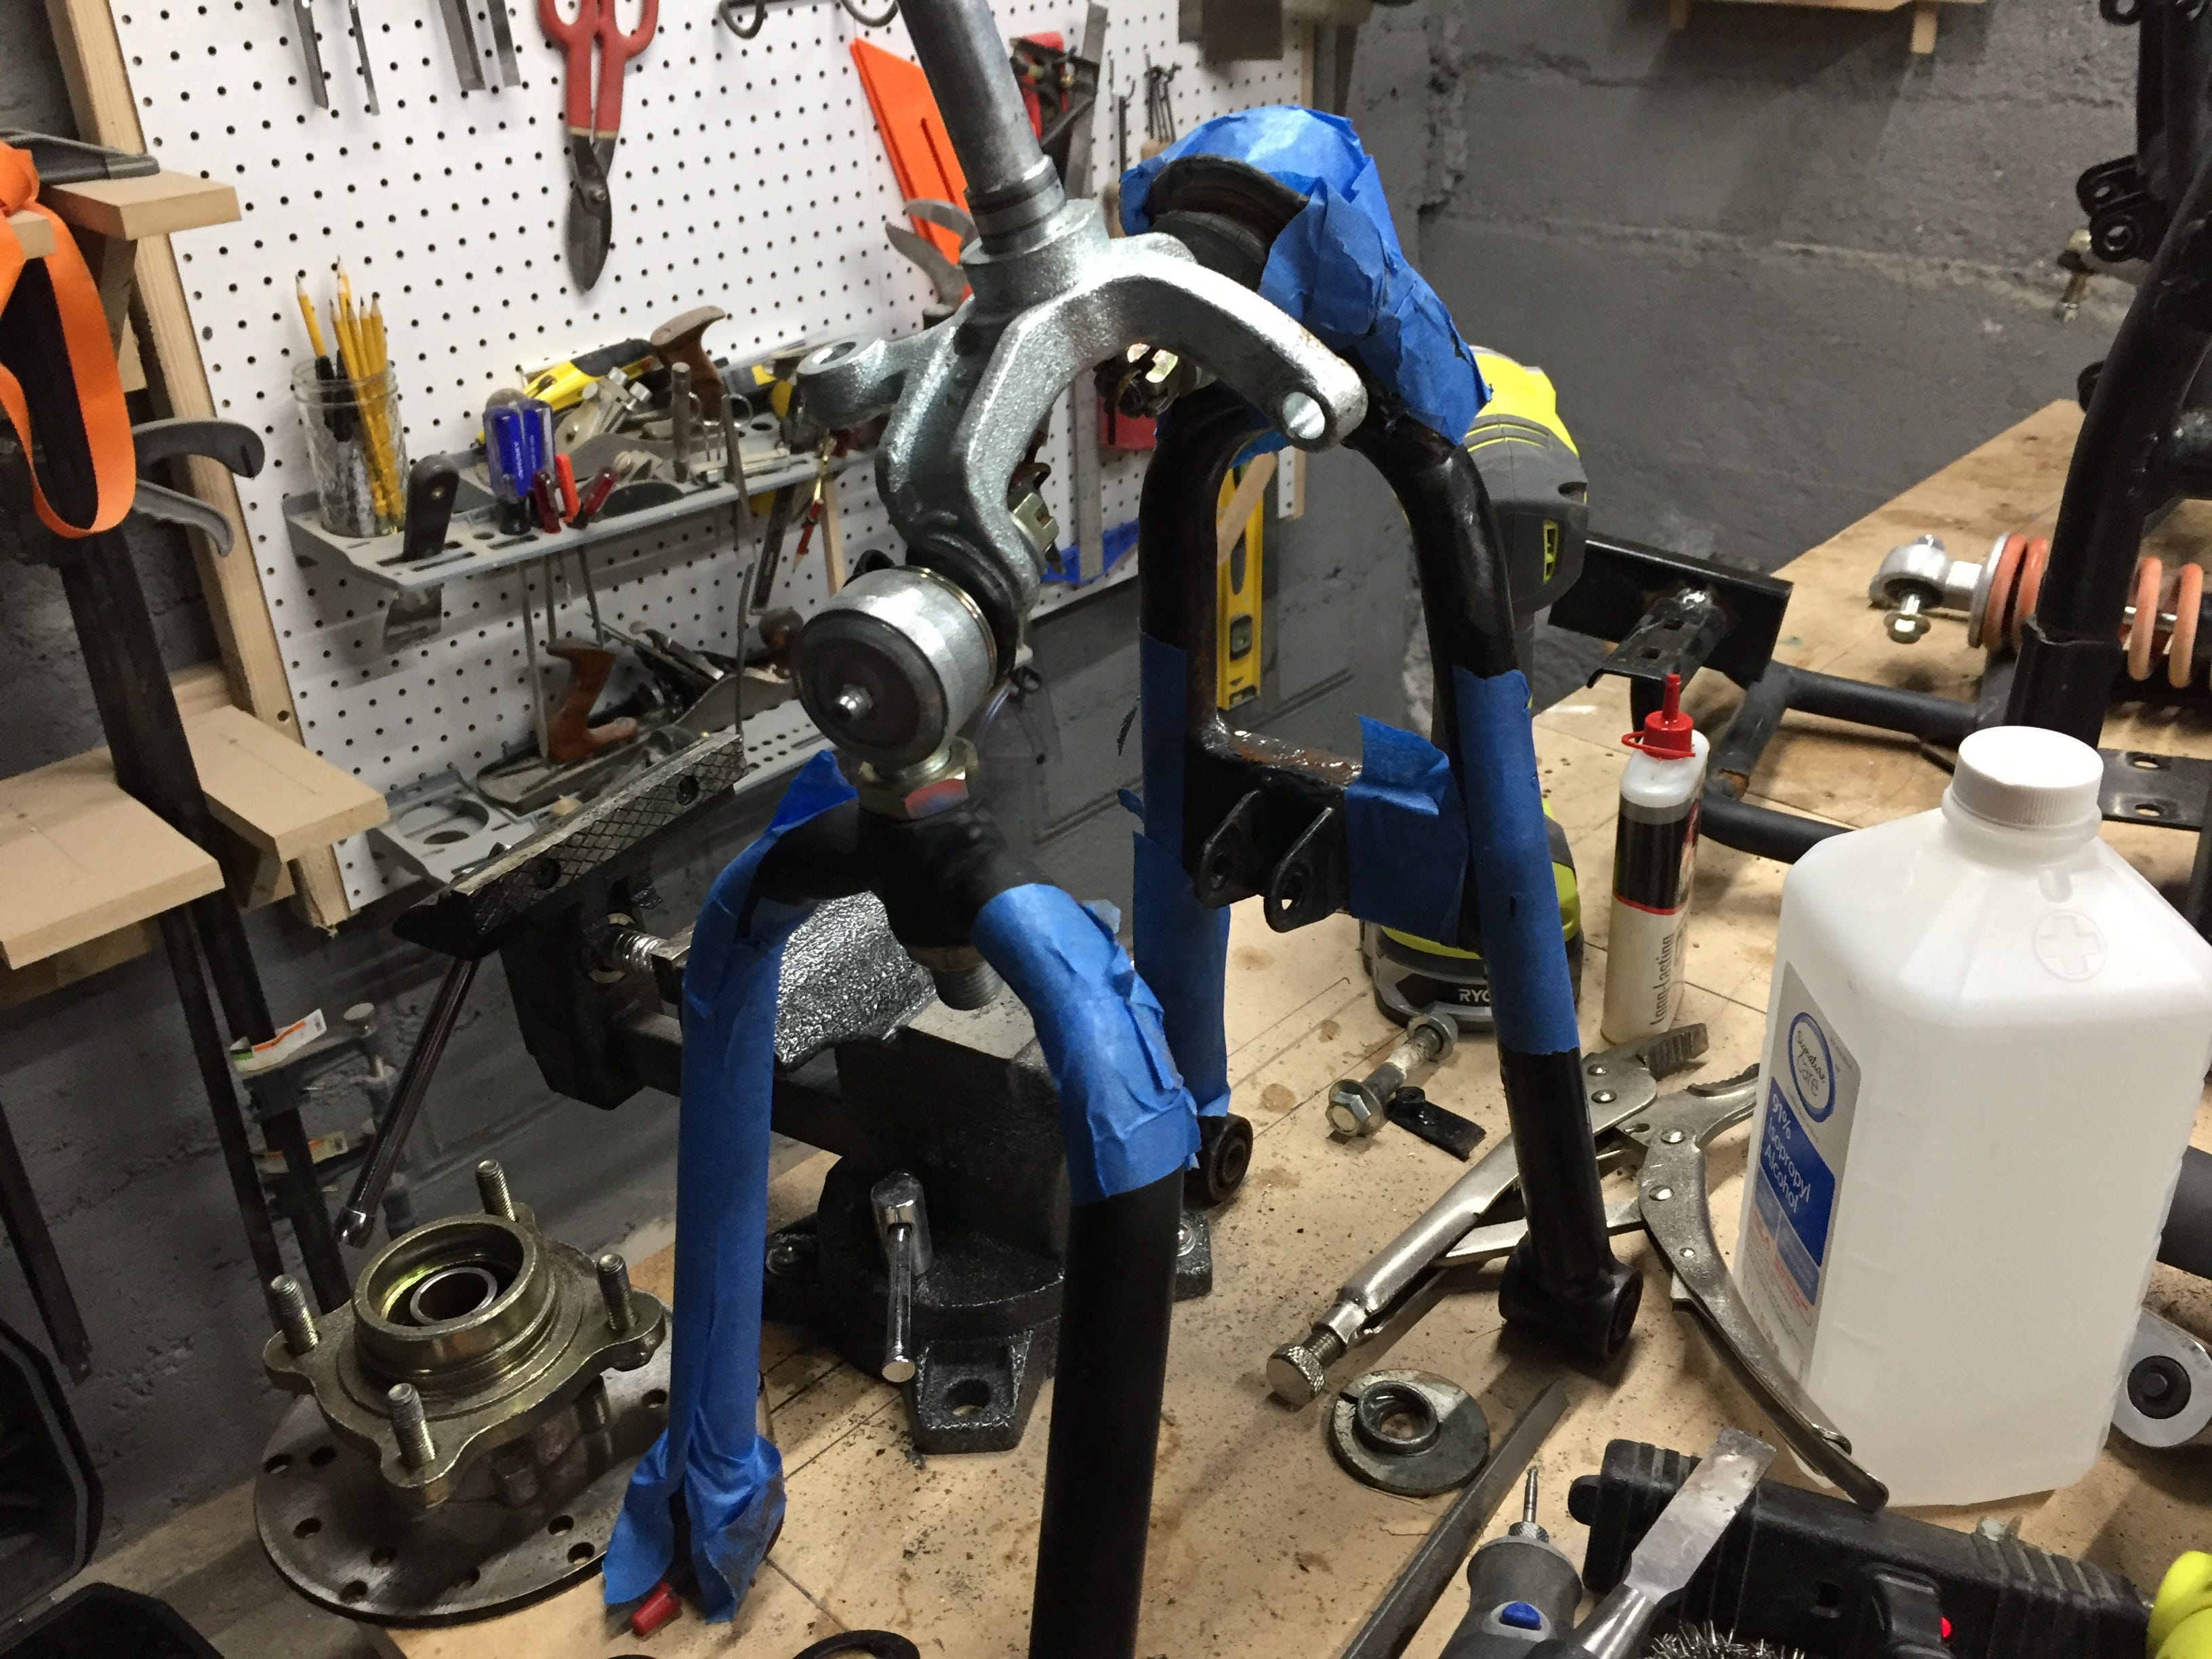
The picture above is post-clean up. The bits that are covered in tape are raw metal. The tape acts as a temporary protective barrier over the steel so as to hopefully minimize or negate corrosion before primer and paint. If you look closely, you can still see some rust in a couple places. Keep in mind that this is just one dual wishbone from one side of the frame. There are many other places where the rust is equally pernicious. Fortunately, most of it seems to be limited to the surface with very little pitting and basically no structural decay. Only one spot will require a bit of filling with the Magic Iron Gluegun (MIG) welder; it’s probably fine as it is but, as it will be my ass riding this thing, I would much rather err on the side of caution.
I bought something called rust converter to deal with some of the stuff that is too deep into a nook or cranny for a Dremel, angle grinder, or file. Like MIG welding, it also works by magic and uses some sort of arcane alchemy (tannic acid) to neutralize rust and convert it into stable ferric tannate before a solvent and a polymer finish off the job and bind everything together creating a stable and paintable surface. Despite the abundance of clear-cut chemistry that makes this product work, the overwhelming number of positive reviews from happy consumers throughout the Internet, and the widespread availability of these types of concoctions, I am still skeptical. I mean, I know it will work, but it’s magic so I need to see it with my own eyes.
Suspension
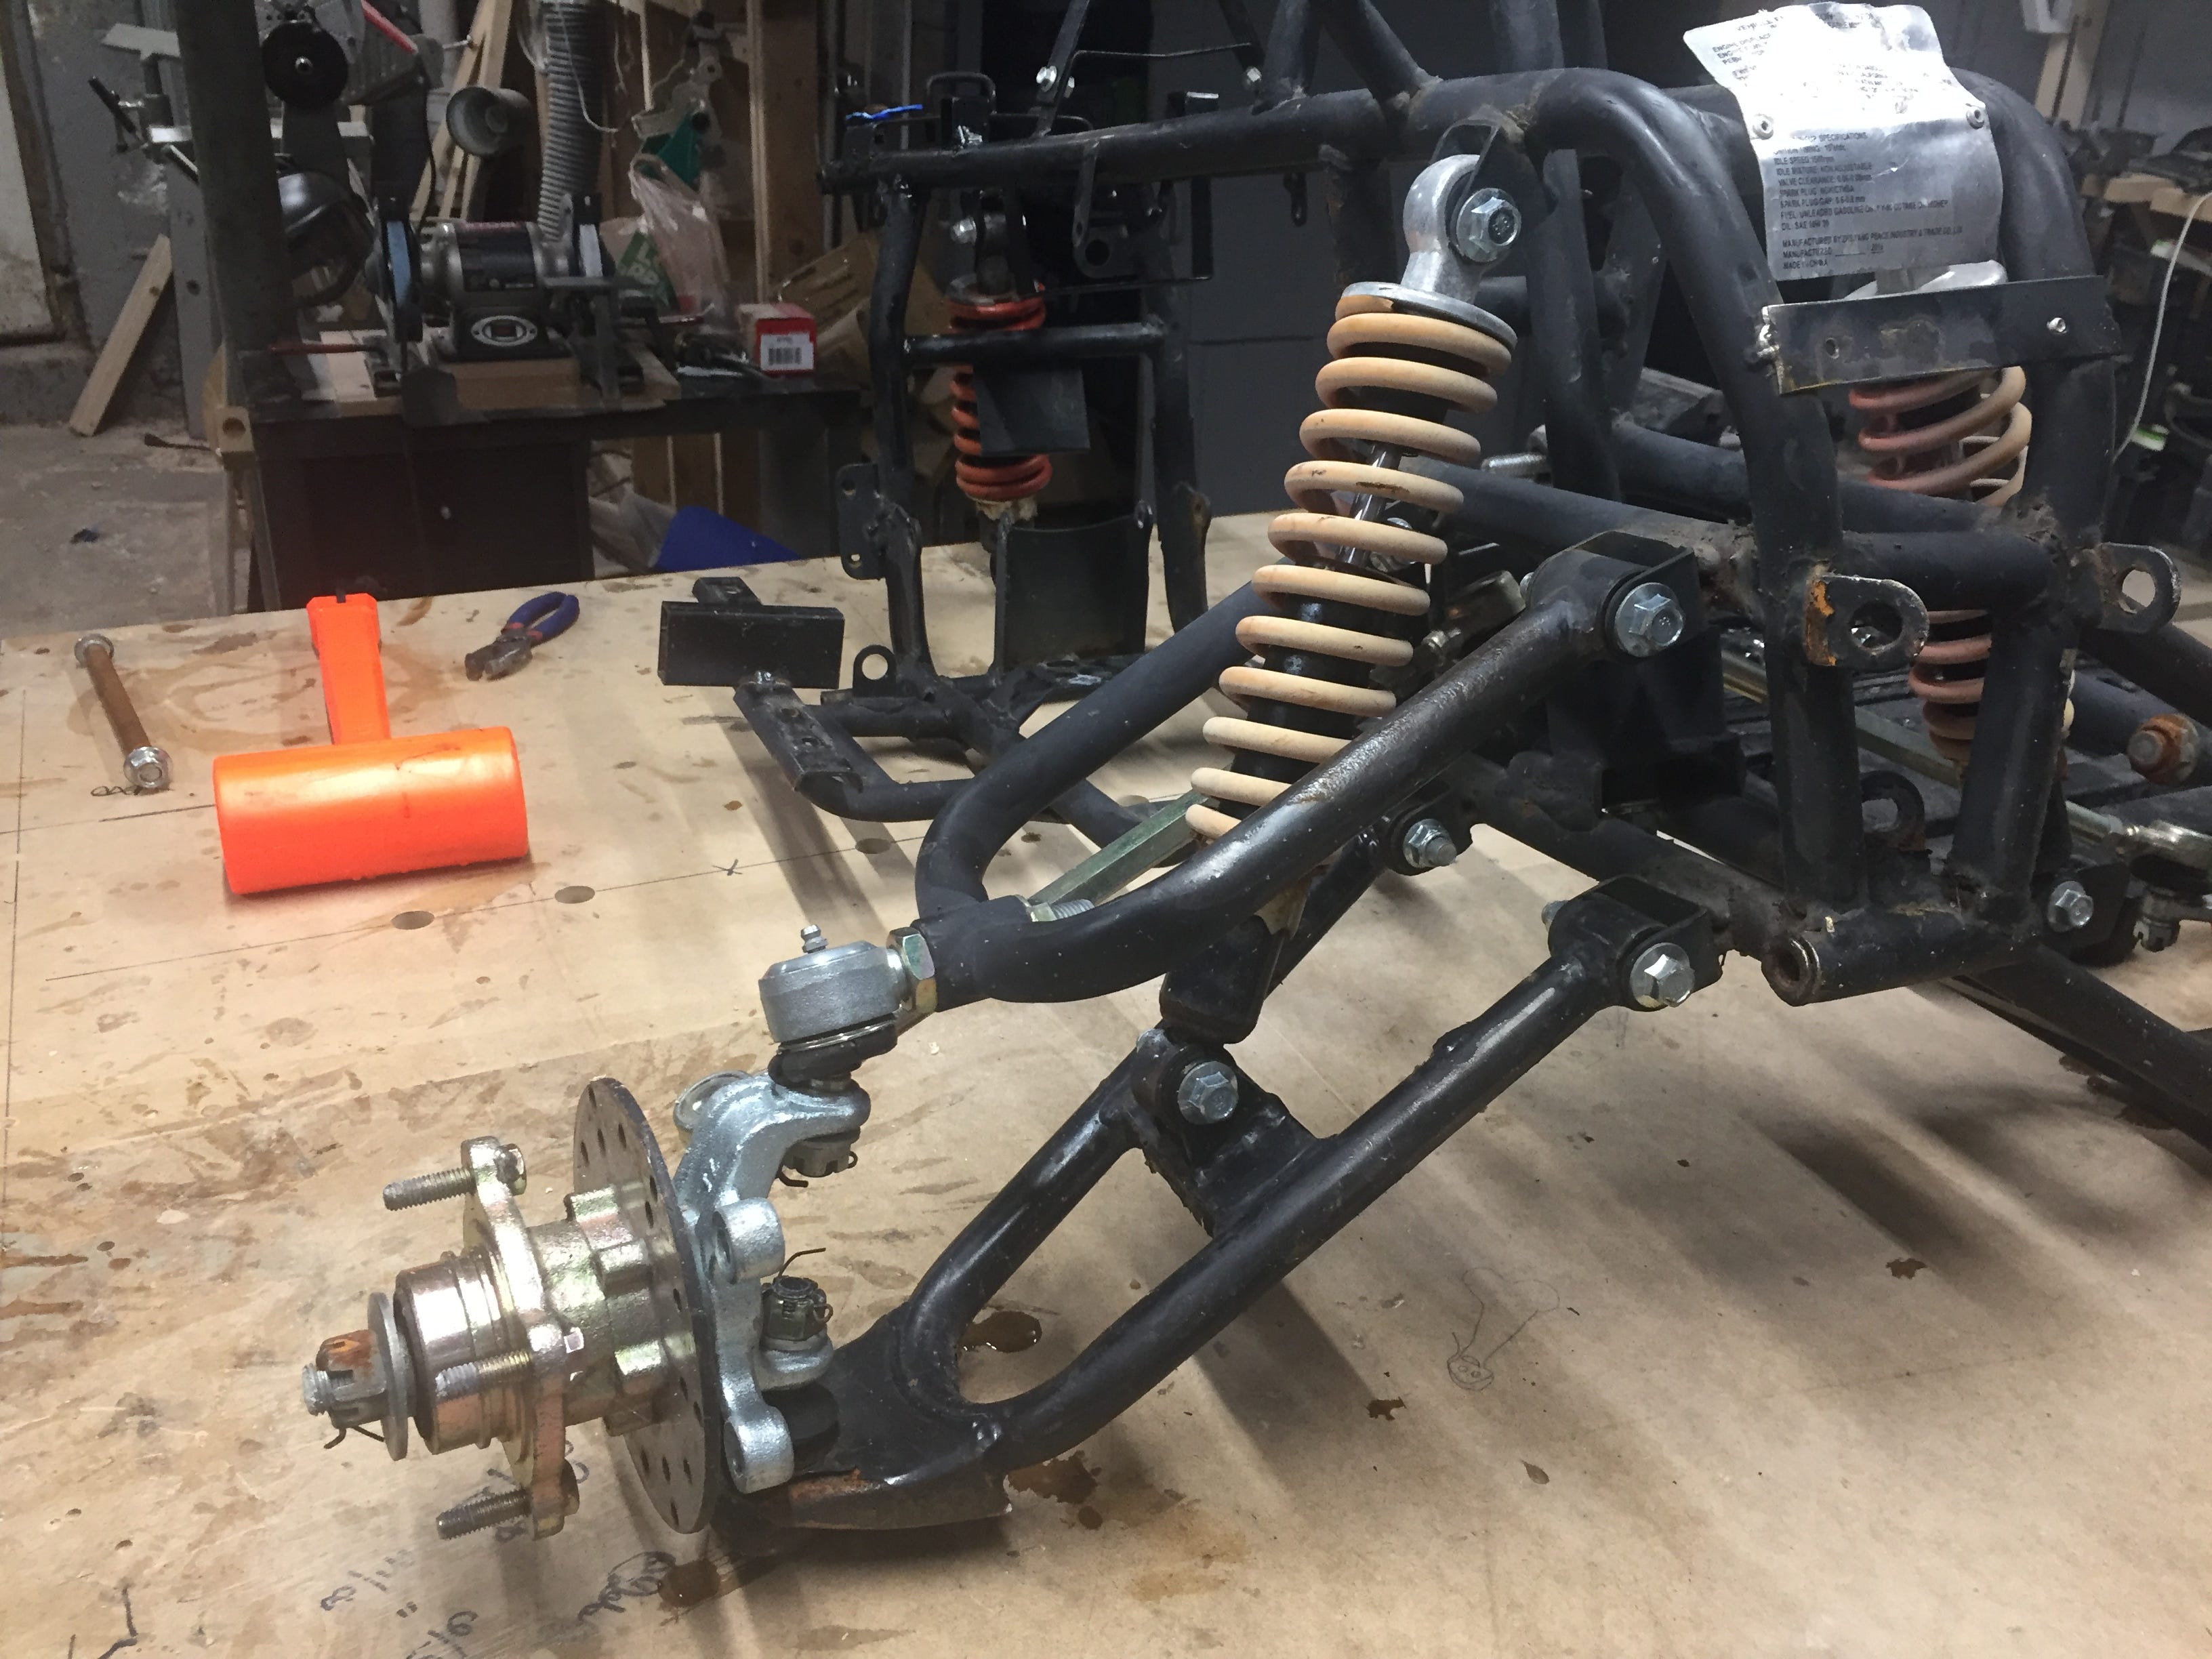
This fix will be pretty straight forward. The correct suspension components are widely available on the Internet and are accordingly cheap. The shocks on my little TaoTao frame are frozen and rusted and the coating over the springs on both front units and the single rear unit is faded and beginning to crack. Additionally, the bushings and rubber bushing sleeves located at either end of each shock are beginning to crack as well. It’s a good time for a replacement all around. Total cost of all three shocks should be about $40.
Hubs
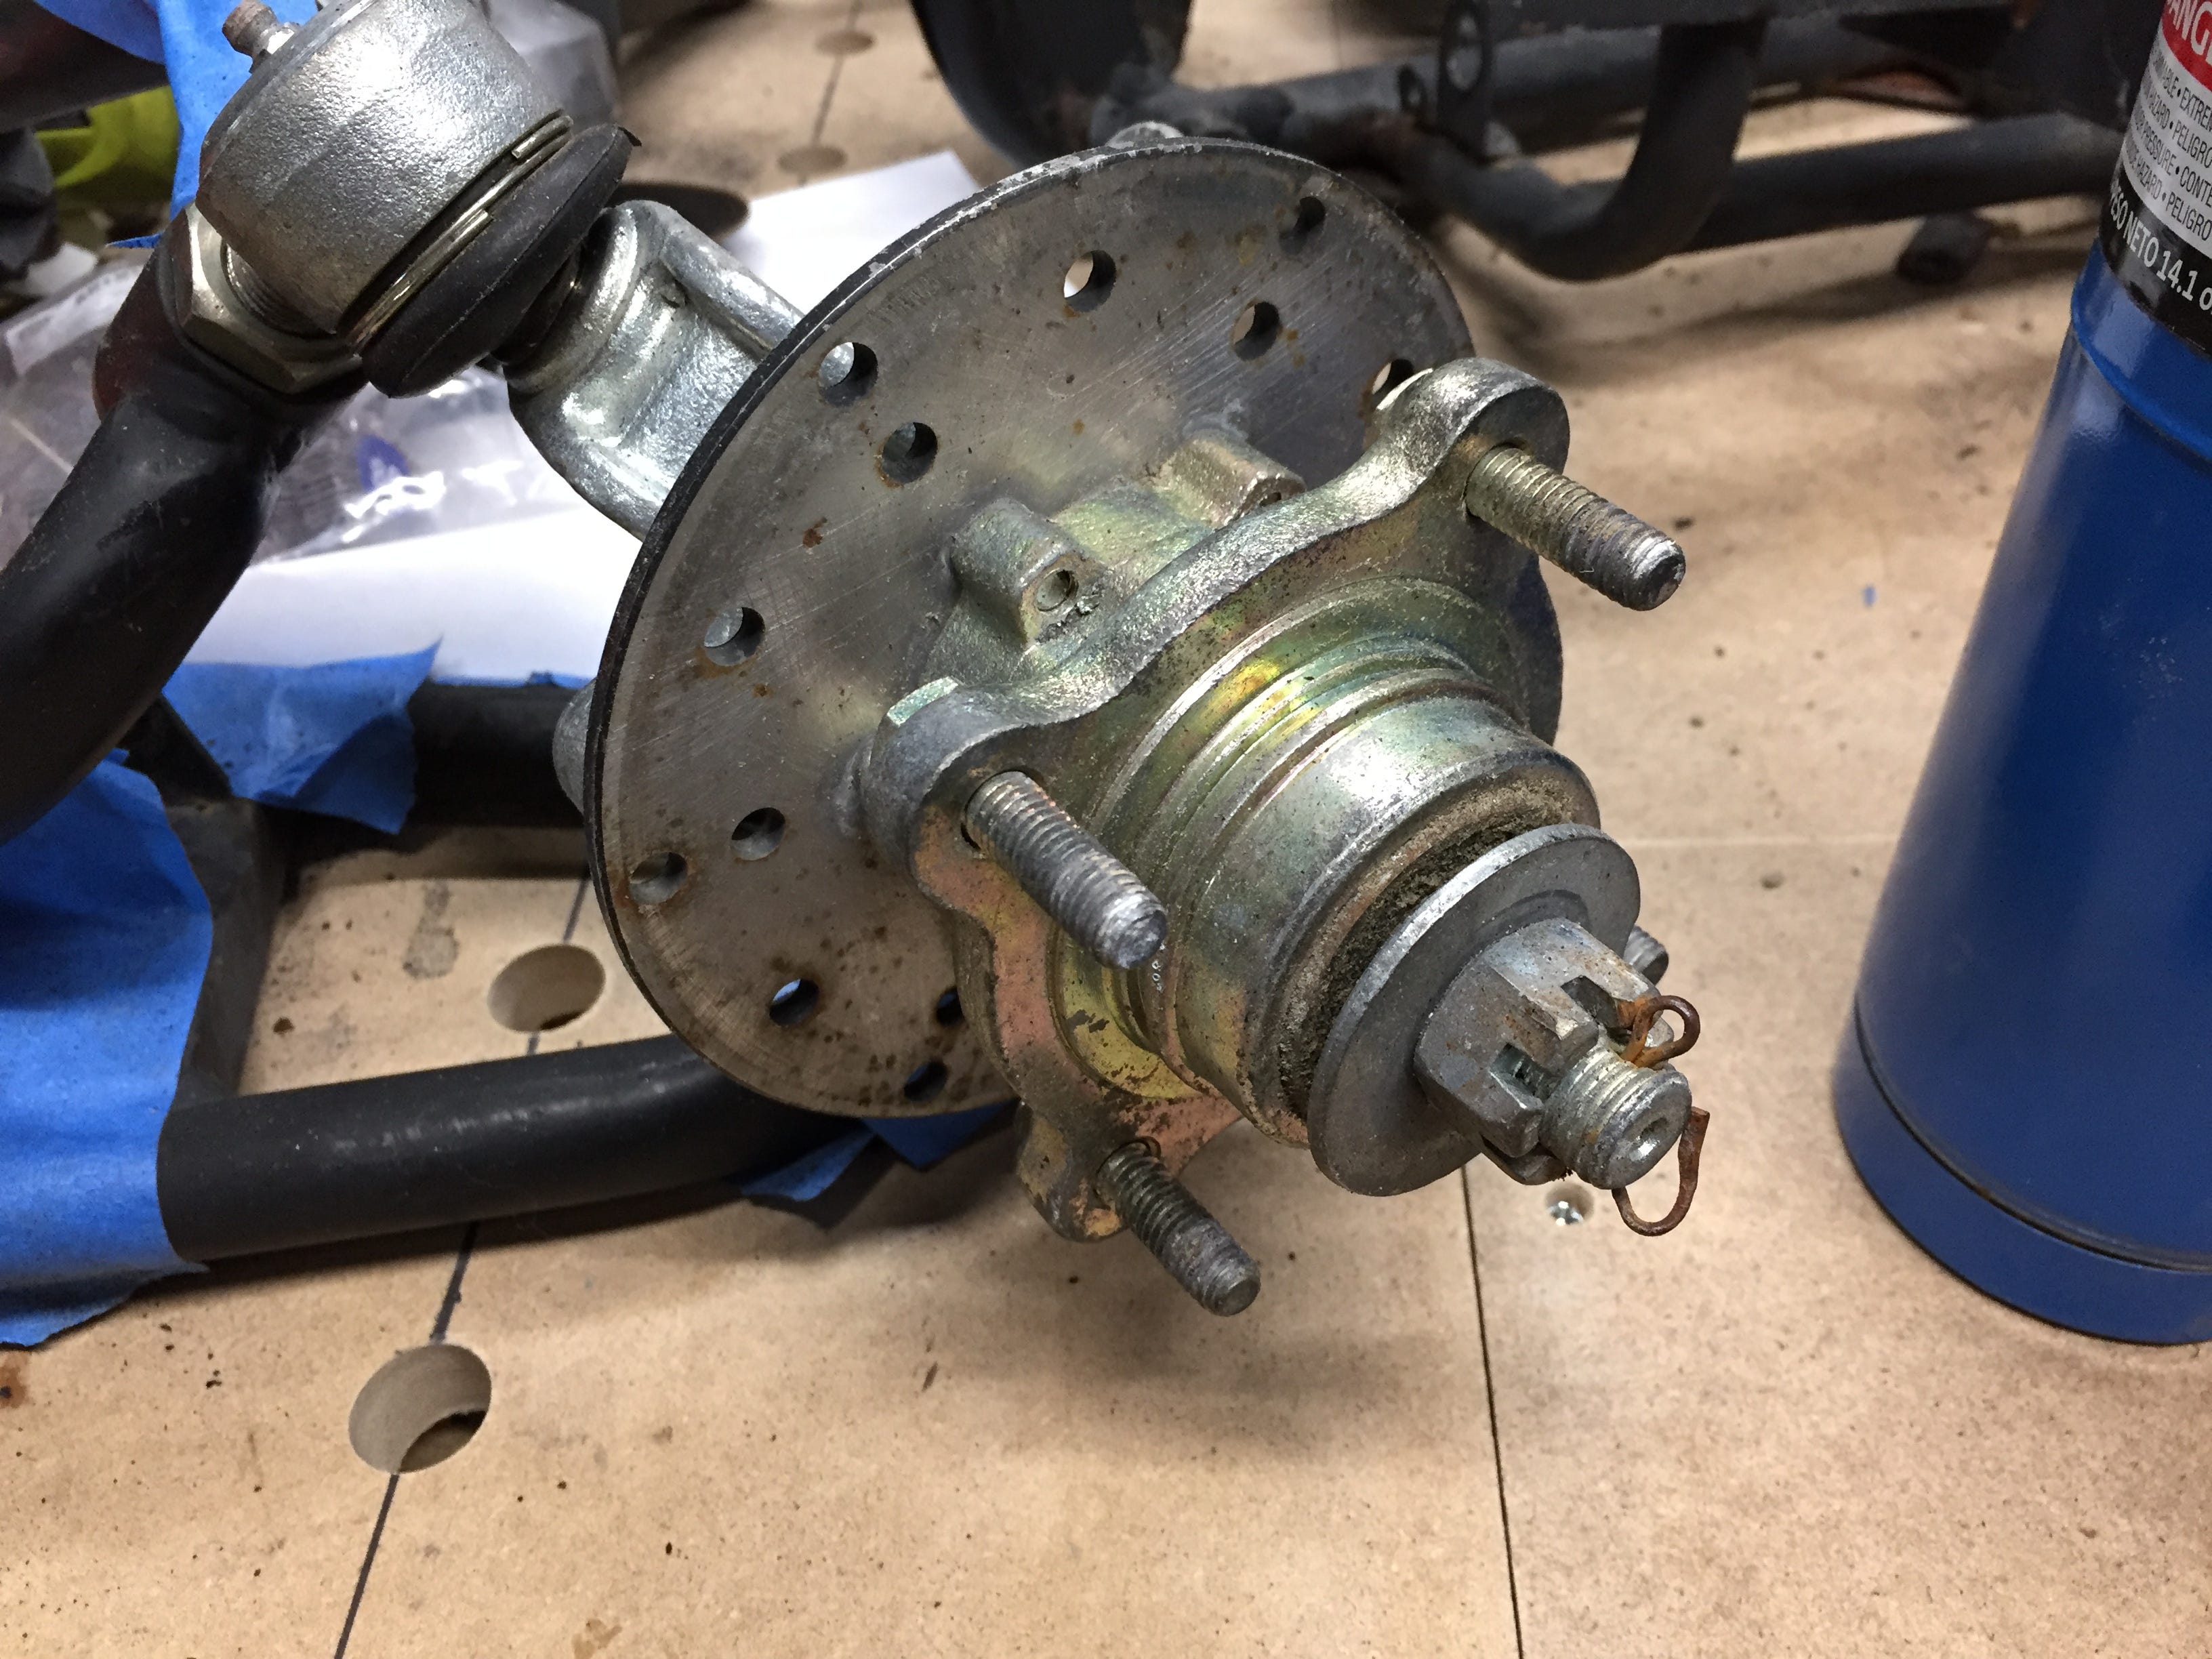
At the yard, I was particularly drawn to this frame because it has complete hubs which, at the time, appeared to be in full working order. Nope.
Once I got everything on to the bench and began disassembly for the purpose of rust mitigation, I noticed that one of the hubs squeaked when rotated. The hubs are each mounted on two bearings which hug a shaft inside the hub body. In short, squeaking is not a good noise. So I began the process of removing the Kotter pin on the hub so that the castle nut could be loosened and the hub assembly removed from the mounting shaft. Unfortunately, the castle nut on this particular shaft did not agree with my life choices and decided to stay firmly put. Not acceptable.
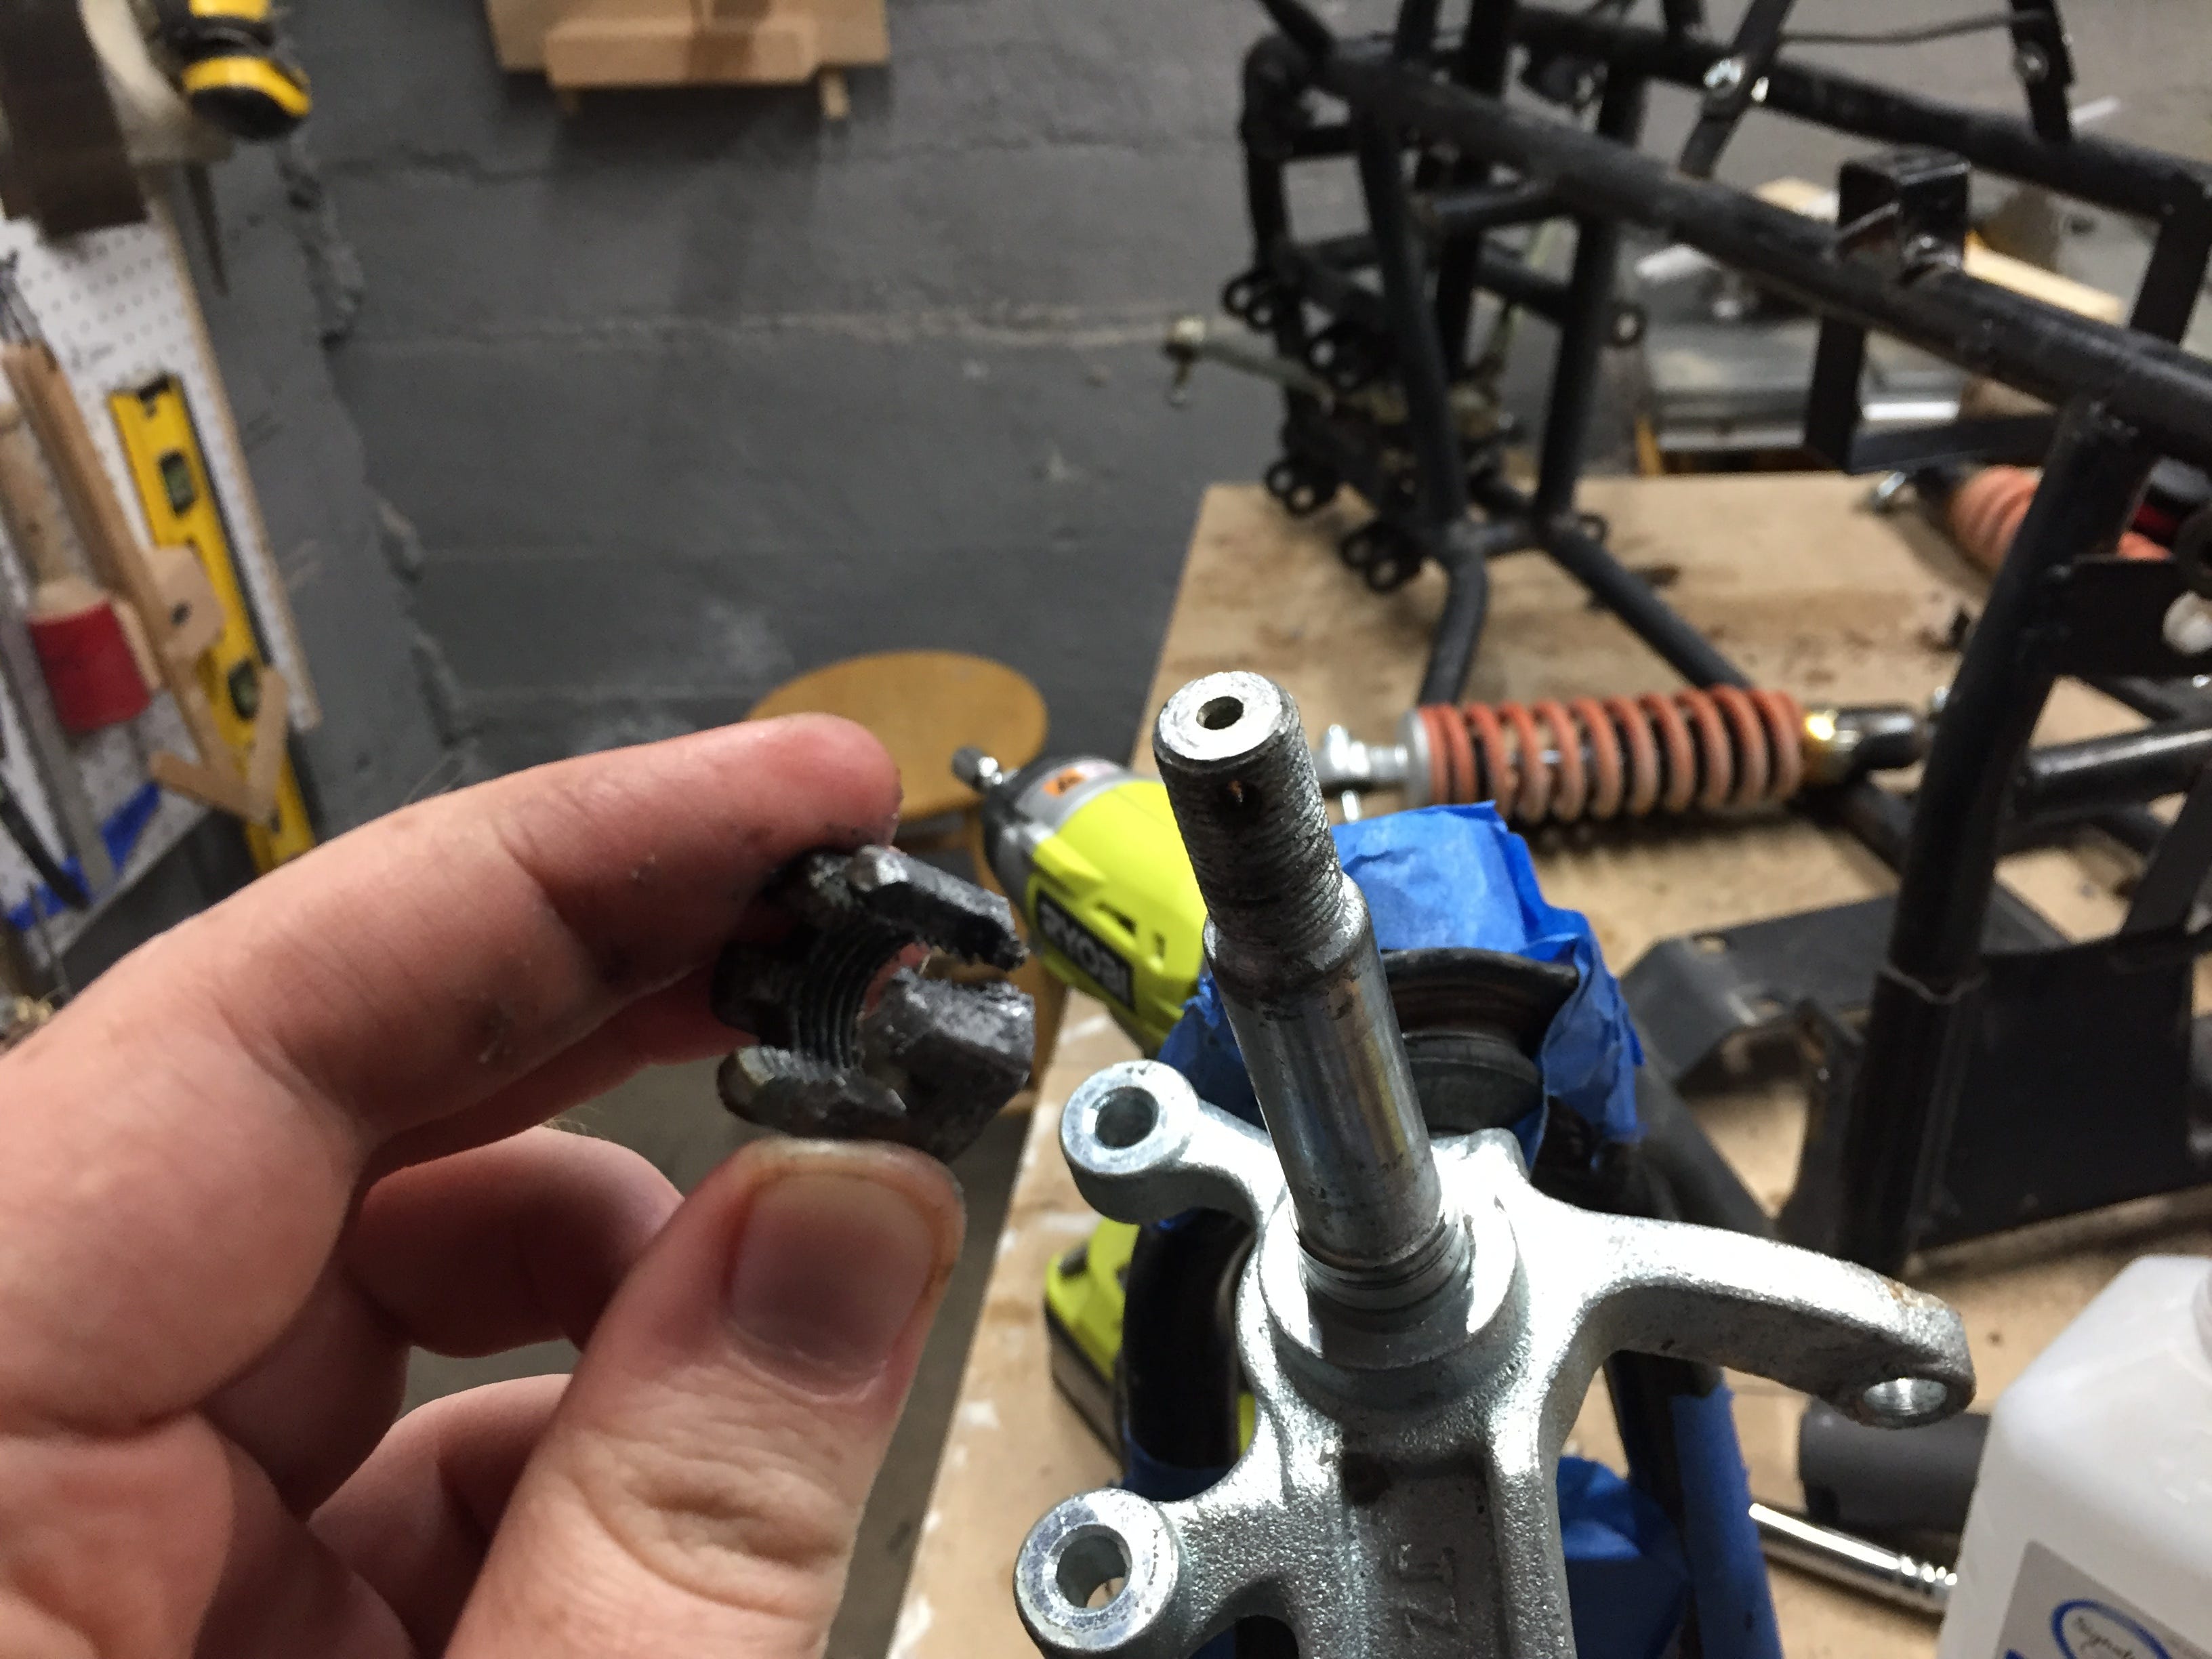
I had to cut that little bastard off the shaft ever so carefullyusing a Dremel and a set of cheap beater bench chisels that I keep around for occasions such as this one when I have to rage-whomp on something hard. Even after carving the deep channel that you can see in the photo above, the nut still did not come loose. Eventually, I wedged a chisel between the nut and the threads of the shaft and widened the nut enough so that it finally spun free. I was certain that I would have to bite the bullet and buy a new shaft assembly after this hack job of an extraction but fortune favors the bold (also I’m stupidly lucky) and I caused only minor damage to the threads. The damage was immediately corrected with a small file.
So what was the squeaking you ask?
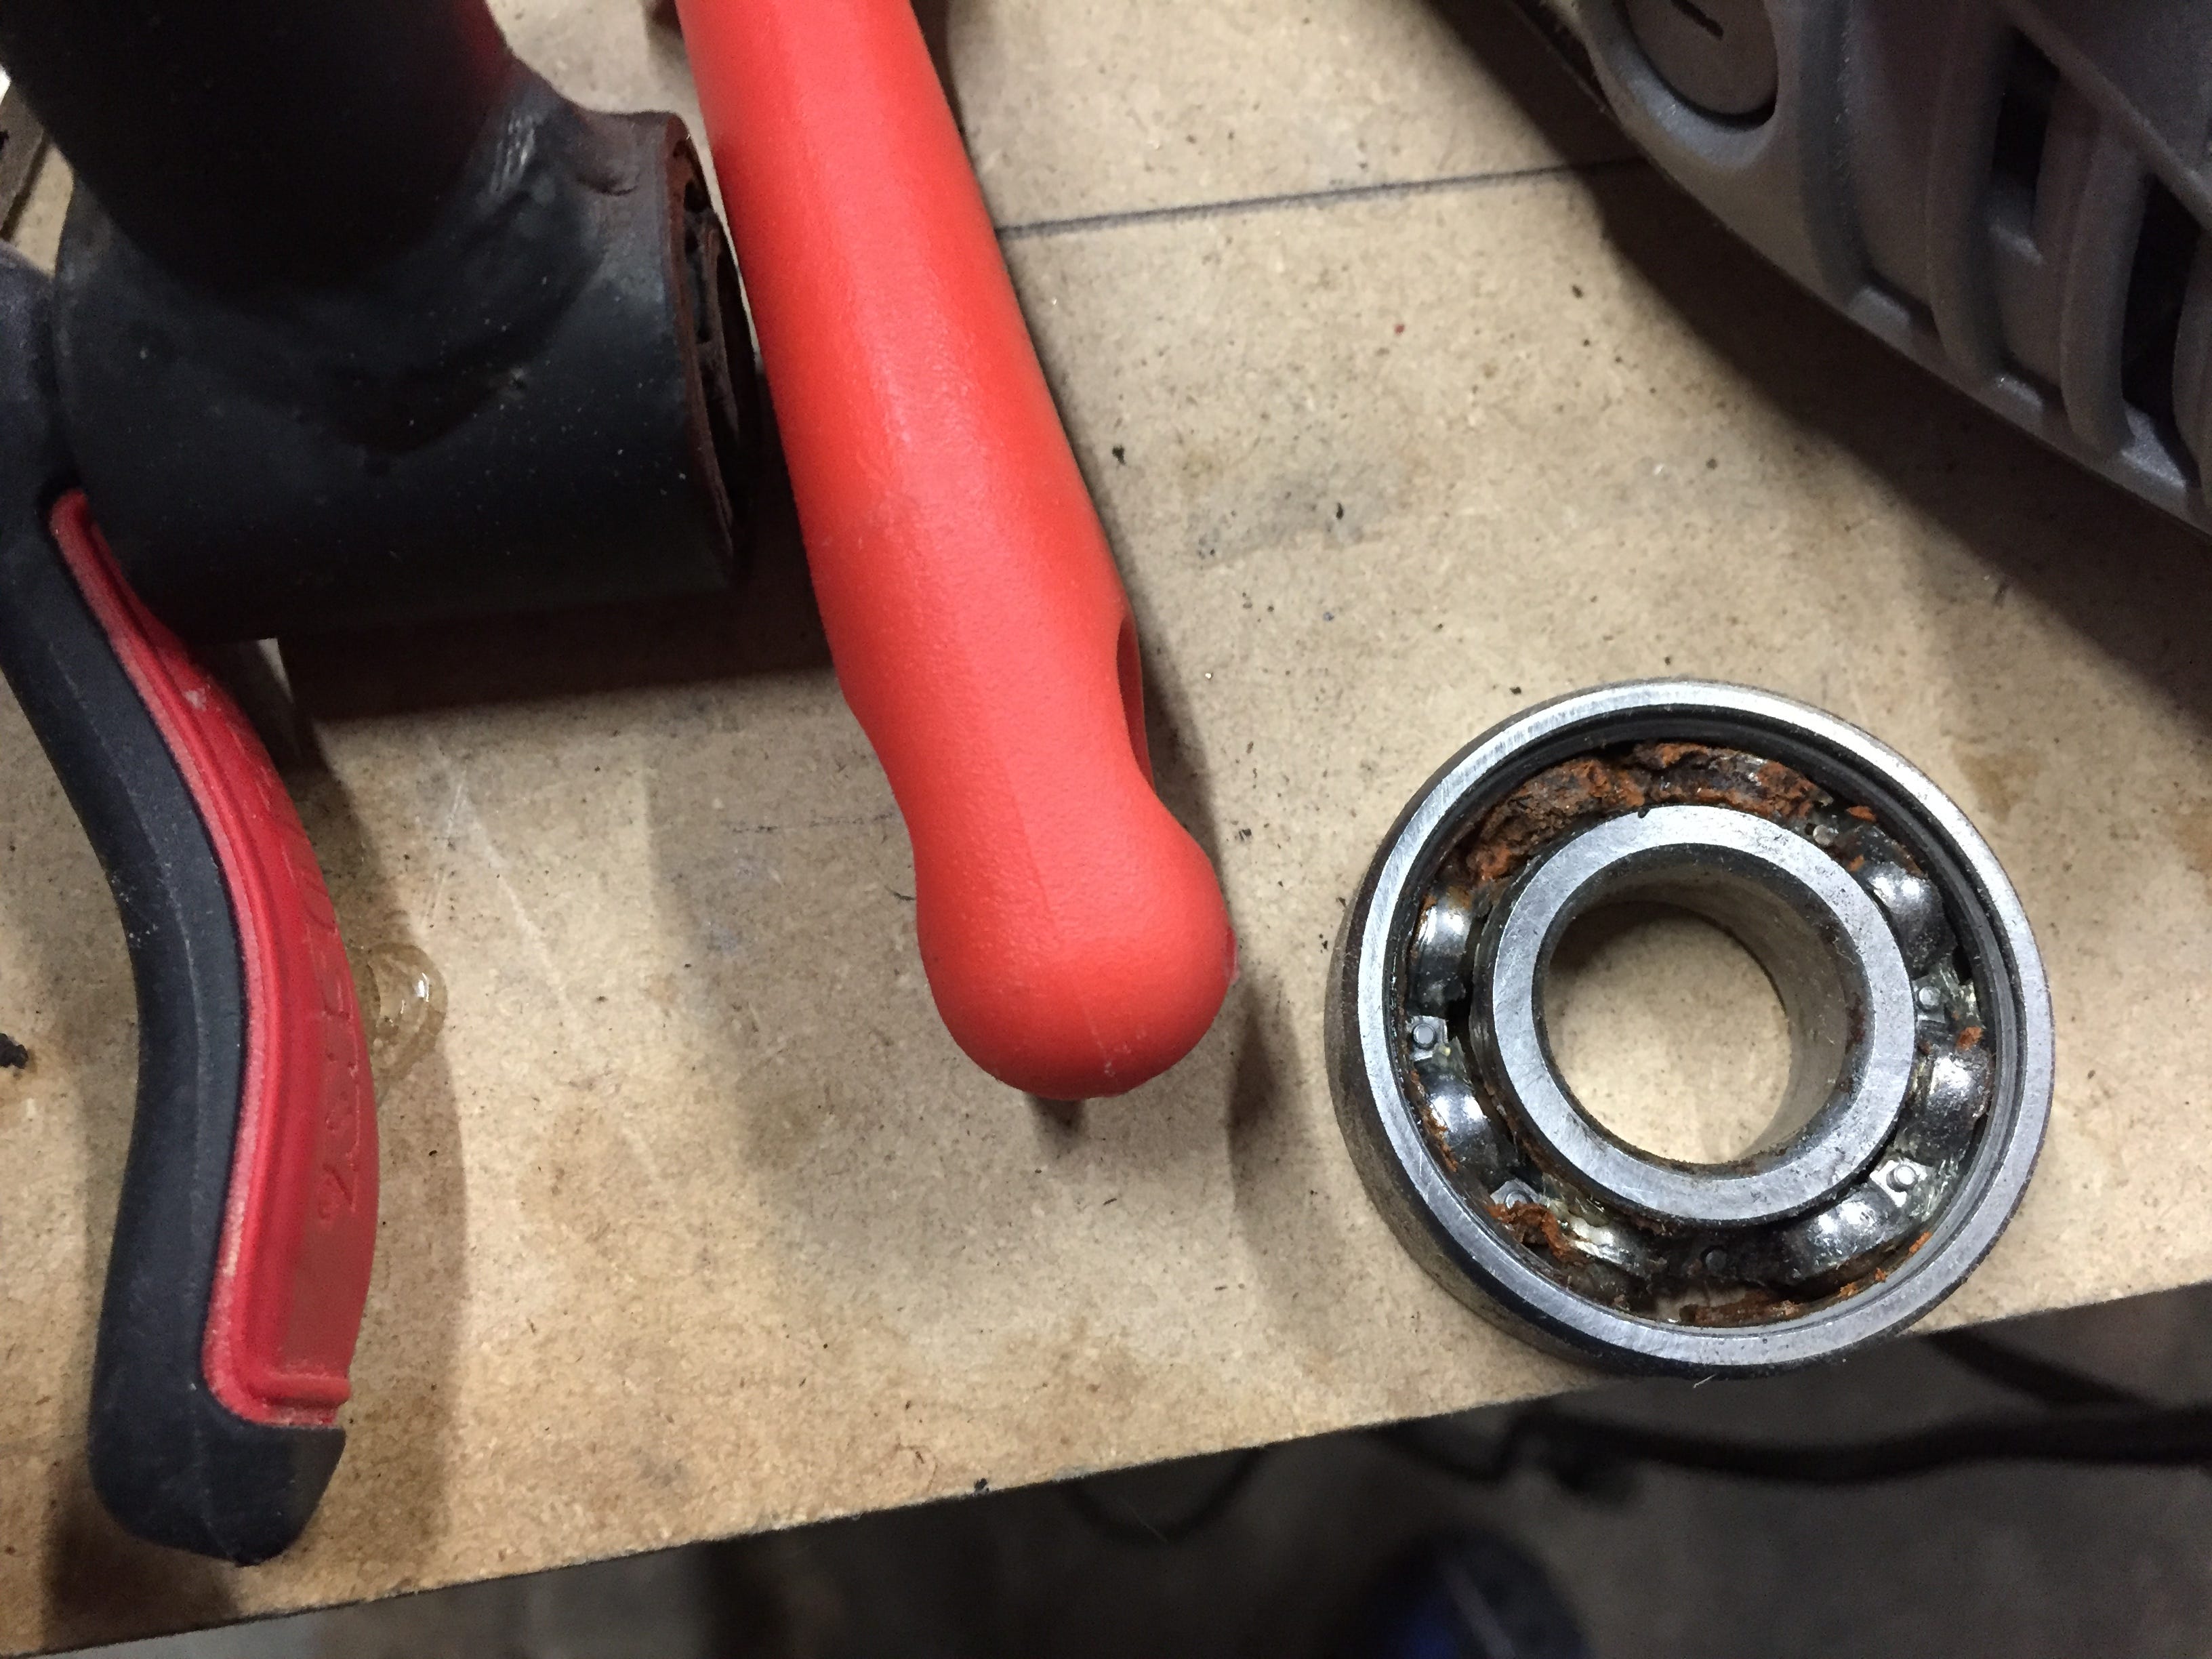
For those who aren't aware of what the inside of a bearing should look like, please don’t use this as a reference photo for when you’re next on Jeopardy. That orange shmoo is a potent mixture of worn out grease and rust.
Out of an abundance of caution, I pulled the other hub even though it seemed to be working fine. The retaining castle nut was again frozen but this time I used a bigger persuader, more WD-40, and a tighter grip. It was a good thing that I pulled the hub because I quickly discovered the bearings to also be frozen. The hub assembly was filled with grease and the inner raceways of the frozen bearings were well-lubed enough to slide on the shaft. This means that it feels like everything is okay, but it’s really not. Needless to say, they will also be replaced. At the same time, I will also be replacing the oil seals on the backside of each hub.
Brakes
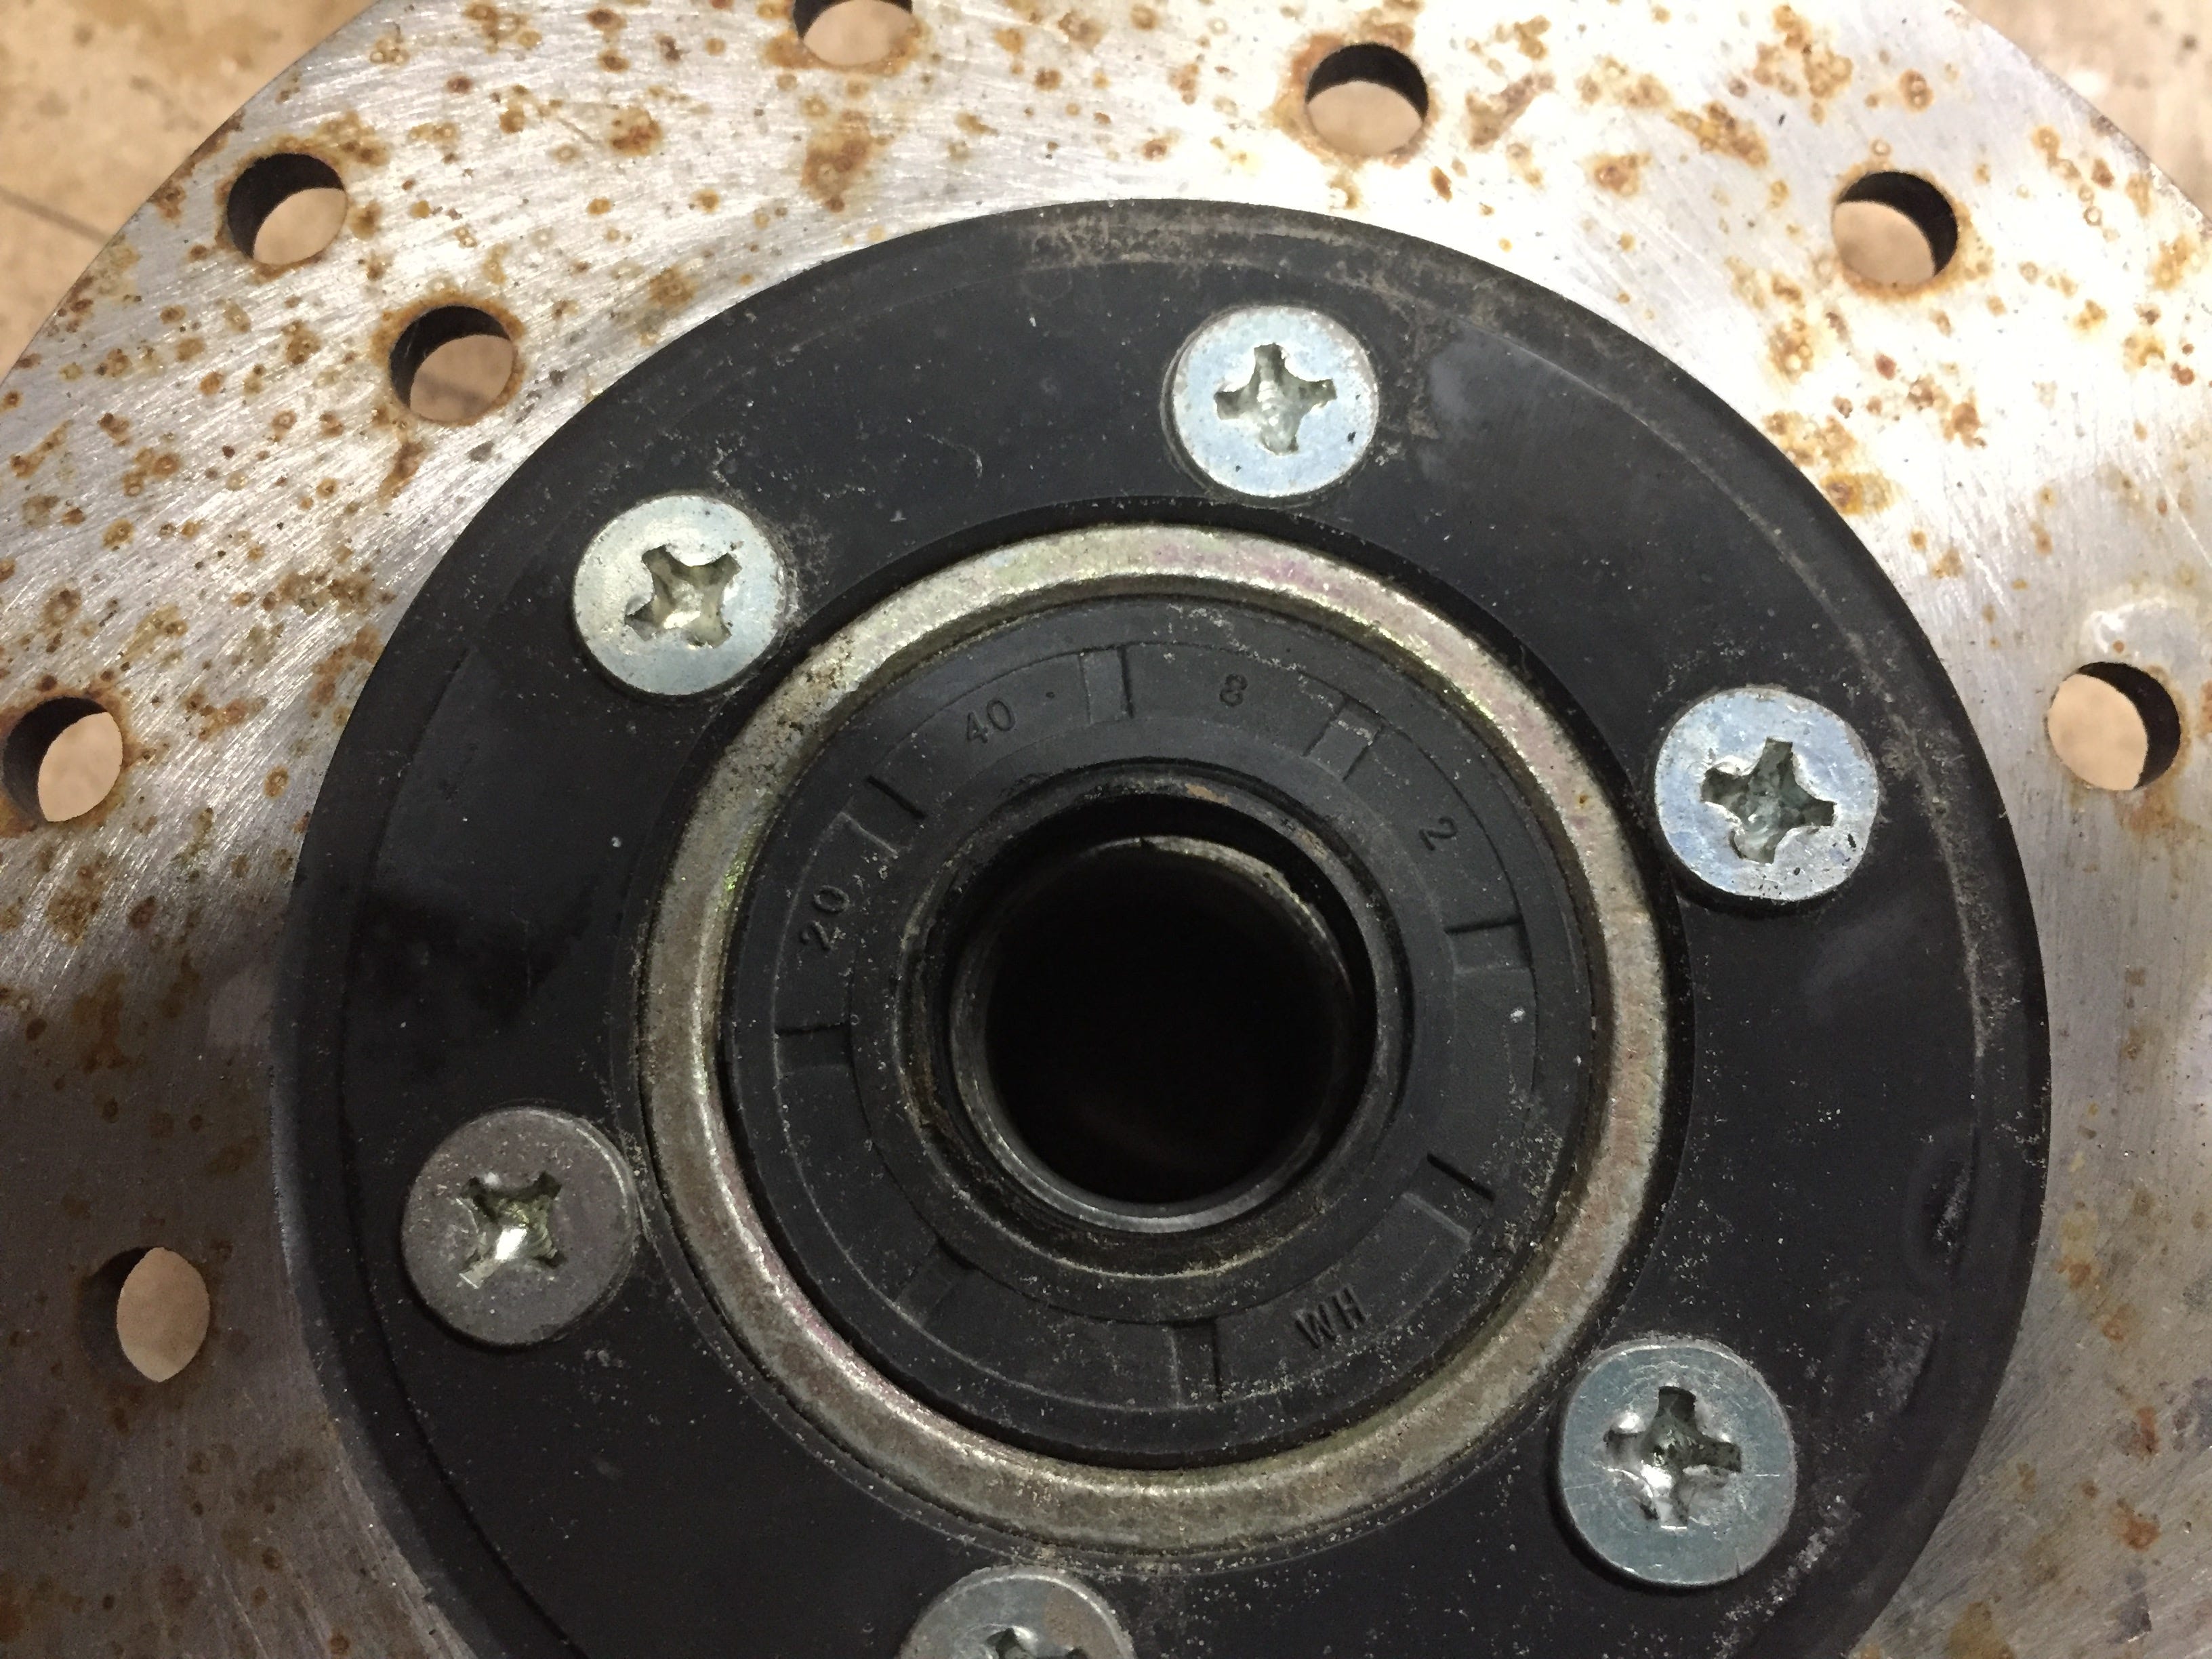
The rotors on both the left and right hubs looked fine- barely used even- and seemed to still have honing marks from the original manufacturing process. I was excited by these rotors. They were as pristine as one would expect after sitting in a junkyard for a couple years or more. Really, they were beautiful. All the same, I thought it prudent to check the run out on the rotor on the supposedly functional right side hub before I took it all apart. When I saw the gauge, I literally started laughing. Below is a non-dramatic recreation of that event.
Basically what you’re seeing is about fifty thousandths of an inch between the high point and the low point on the rotor which is equivalent to about 1.3 millimeters. That may not sound like a whole lot to you but trust me it is. It’s enough that the rotor rocks back and forth when I put it face down on a flat surface. It’s horrendous. If this were allowed to continue, it’s entirely possible that the caliper would become damaged under heavy braking and it would certainly result in sustained vibration as soon as the caliper engaged with the rotor. It’s probably enough that the rotor would rub against the caliper every time the high point came around during wheel rotation.
It’s bad.
The other caliper from the left side hub that squeaked does not rock when laid flat on the table although I did not actually measure run out before removing the hub from the frame.
At any rate, new calipers have been ordered for both sides. This is a pretty standard part so they ran only about $10 a piece via Amazon. The downside is that they are going to take a long time to get here because they are shipping direct from China.
One Thing is Clear
This ATV was in a crash or roll. It was bad enough that the owner decided to sell the unit off to the salvage yard despite the fact that the engine and transmission (which I pulled from the frame and left behind) and wiring harness (which I also pulled from the frame and left behind) were in fine working order. The side of the frame from which the bent rotor came coincidentally also has a rather noticeable kink in it. I suspect that the owner ran the ATV into something heavy and damaged the front right wheel with a glancing blow strong enough that it contacted the caliper and caused it to deform. The impacting object then continued into the upper frame which caused the slight kink. In any case, the rest of the frame is reasonably straight and I will be cutting the frame in half just before the kink anyhow so the kink itself worries me very little.
Final Thoughts
As replacement parts for the hub and brake repair are going to take a long time to arrive, I’m going to focus on figuring out the frame structure and begin honing in on the design direction of the moped. Tomorrow will involve cutting the frame in half which will be the single most nerve wracking thing that I’ve done on this project to date. Forever forward.